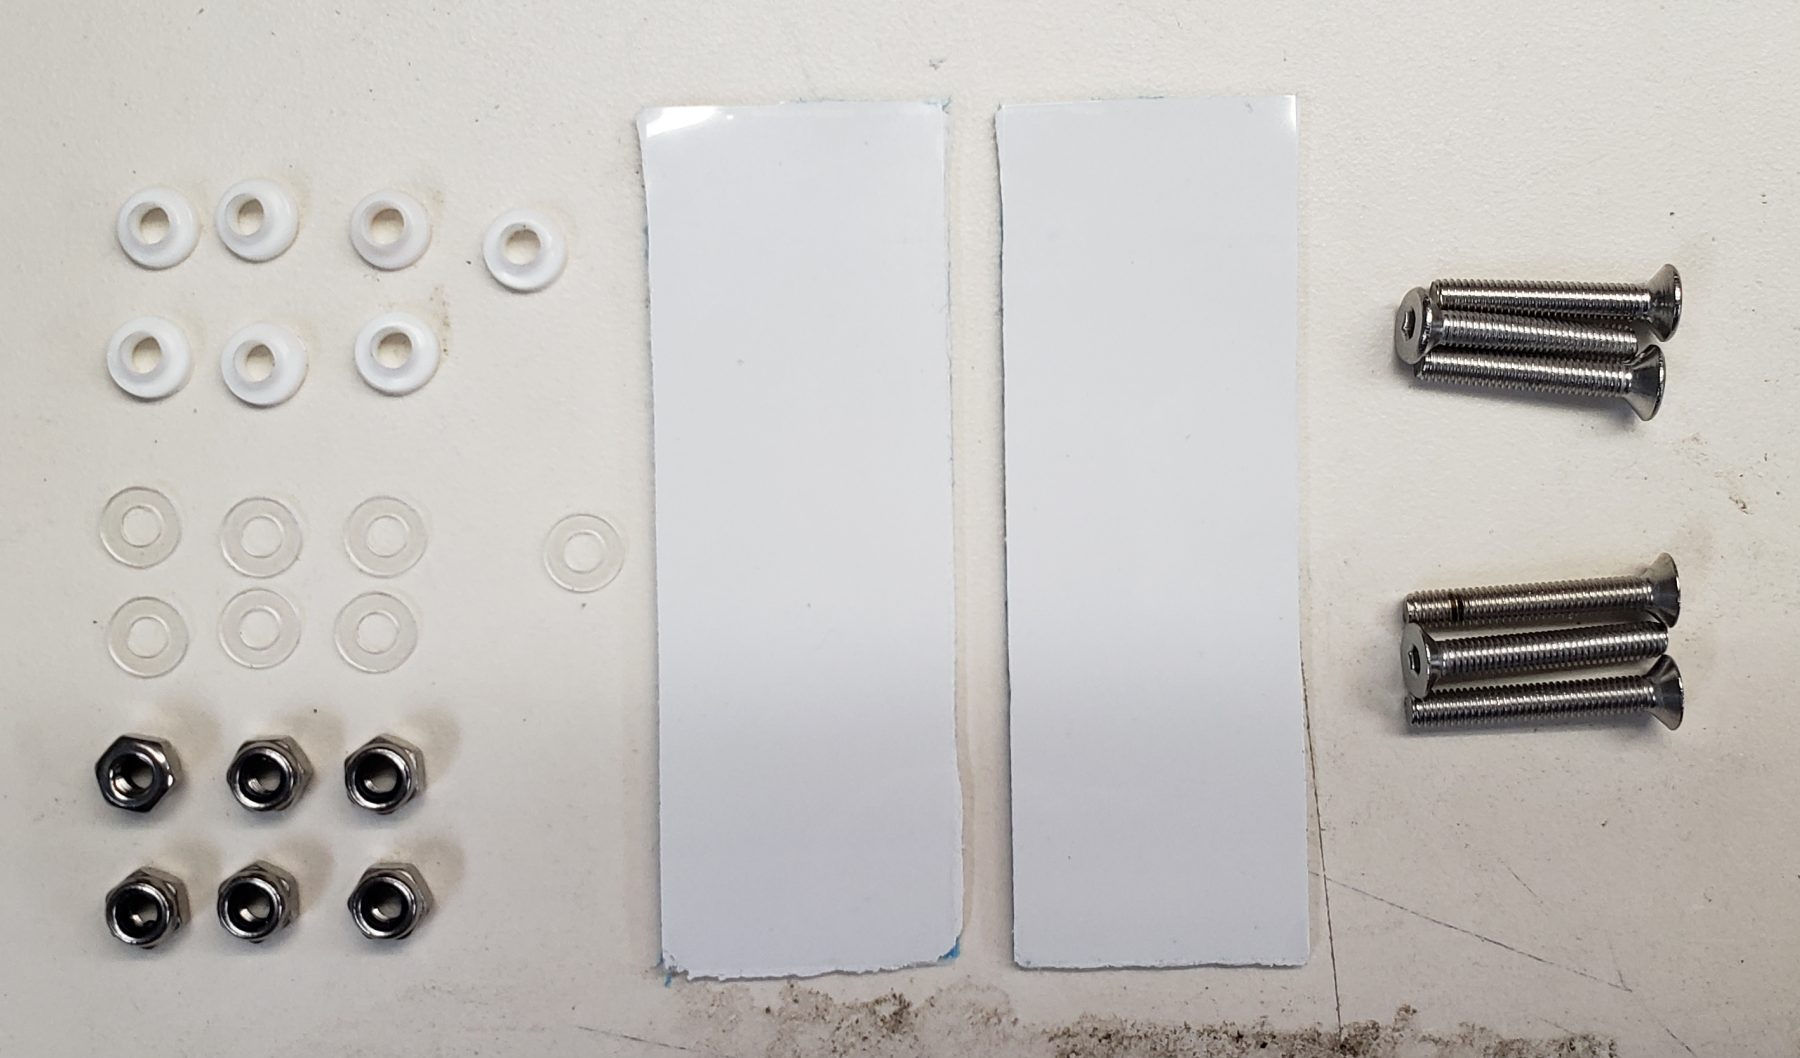
Included with every Lilfoccer and Tronic Purchase, this item is for purchasing the mounting kit on its own.
Used for mounting the controller to the finned lid on our VEXR and GT-V Lids.
Comes with 6 mounting screws, 6 lock nuts, 7 white hat washers, and 7 .5mm washers.
See the instructions below and the stackup image for proper mounting
1. Clean the lid and fets with alcohol
2. remove stiff clear plastic from thermalpad (without touching the pad itself)
3. Lay both thermal pads across 3 fets
4. Peel up the blue plastic side off of thermal pad
5. Using a small screwdriver, poke a hole through the thermal pad where the mounting holes of the fets are
6. Using the tube of a BIC pen or similar sized hollow tubed item to the .5mm washers, punch out a section centered around the holes you poked in step 5 (this creates a pocket for the .5mm washers to sit in.
7. Put the 6 screws through the lid and place some tape behind eacah one to hold it in, or lay it on a table so they can’t fall out
8. Place a .5mm washer on each of the 6 screws protruding through the lid
9. Gently bring the controller with thermal pad down onto the screws making sure each one goes into the holes in the fets without damaging the thermal pad, then press onto lid
10. Place a white hat washer on each screw and press it down onto the pcb so the hat portion drops into the pcb which isolates the screw from the pcb and centers it in the hole
11. Place a locknut on each screw and using a hex driver with a thin handle, and a hex key on the other side to hold the screw head. Iteratively tighten each of the 6 in a criss cross pattern until they snug up. Do not use any tool besides your hand and a nut driver to tighten them as they can be overtightened. The pcb may end up with a “slight” bend in it when mounted properly and that is ok. If you are using an electric nut driver with a clutch, make sure it is on a very low setting.


